The monitoring question and reporting unit
This implementation guide considers Boundary Quality in the context of Peri-urban settlements, with ASTER Global Digital Elevation Model as the selected data source. The purpose is to design a defensible monitoring workflow before purchasing imagery, selecting software settings or committing to an operational alert. Treat the proposed combination as a starting point for a feasibility assessment: the landscape may contain features that the product cannot resolve, and the relevant physical variable may differ from the decision a manager wants to make. Establish that relationship explicitly, then document what additional observations are required.
Landscape context and independent observations
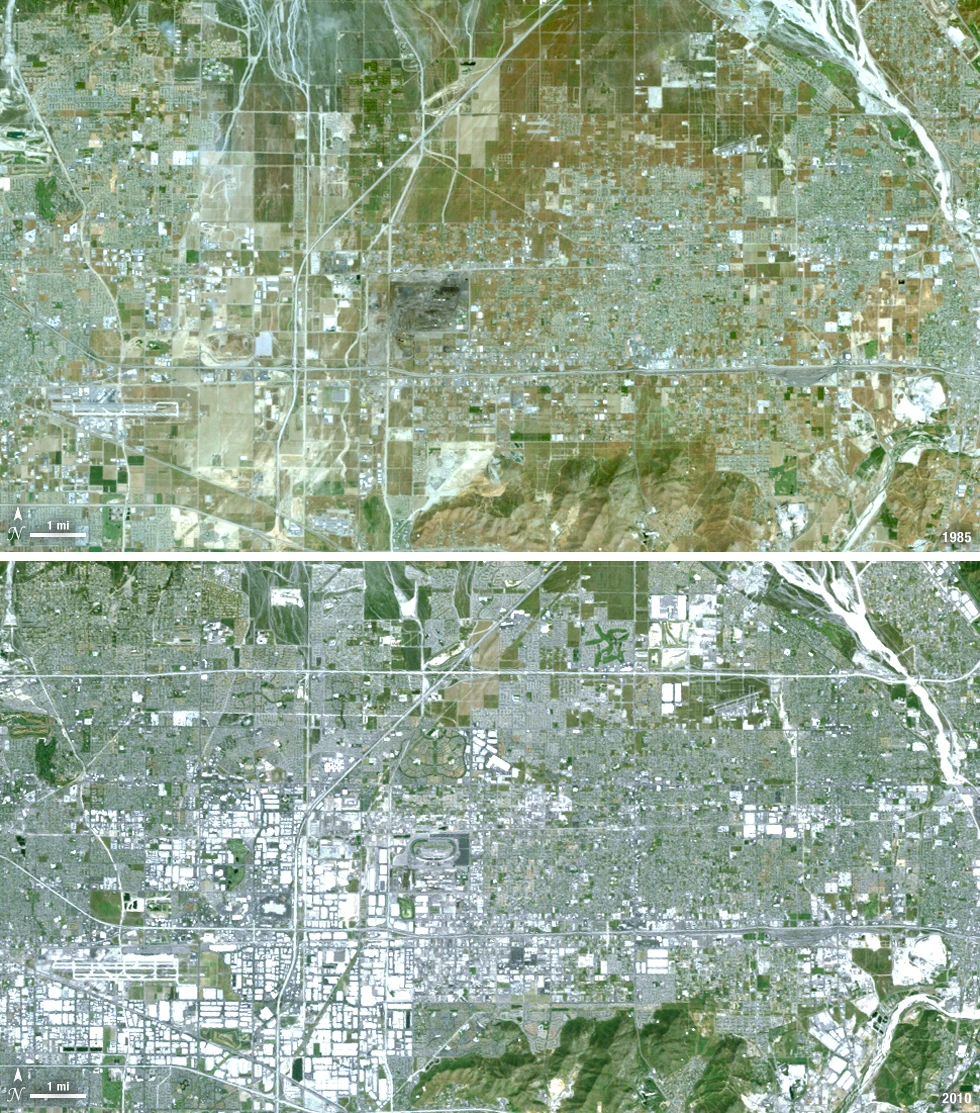
Peri-urban monitoring should define whether it tracks new built cover, vegetation removal, exposed construction land or changes in settlement boundaries. These are related stages rather than identical classes. A useful product locates dated changes for review and does not infer occupancy, planning permission or service access merely from a new bright or dark patch. Define the reporting unit, the observed variable and the action a finding could trigger before selecting an indicator. Retain these definitions so evaluation addresses the management question rather than visual appearance.
Small parcels, mixed agriculture, unpaved roads and scattered houses produce strong within-pixel mixtures. Vegetation seasonality and bare soil can resemble construction transitions. Retain historical land-cover context and use a monitoring interval suited to the scale of development, ensuring that a field temporarily cleared for farming is not automatically treated as urban expansion. Record the observation window and comparison population. Consistent processing cannot compensate for dates or spatial units representing different processes. Preserve acquisition and context information so another analyst can reconstruct the comparison.
Bright bare ground can resemble roofing, and shadows can conceal small structures. The same land-cover transition can represent housing, industry, road work or another use that requires contextual verification. A coarse built-up class is therefore evidence about surface cover at its mapping scale, not a cadastral inventory or an authoritative statement about land use. Treat competing explanations as hypotheses to test, with insufficient evidence retained as a legitimate result. Avoid forcing every difference into a problem class. Identify the additional observation that would change the interpretation.
Validate changed and stable samples across agricultural edges, roads and settlement forms, using independent imagery or observations with known dates. Deliver review candidates and positional uncertainty separately from administrative labels. Planning or enforcement decisions should connect the imagery to verified parcel records and the relevant institutional process rather than treating a classification as a legal finding. Document reference selection and independence from threshold or model tuning. Preserve usable coverage and rejected observations. State the conclusion's spatial and temporal support so later updates remain comparable without overstating measured evidence.
Select the measurement and data product
ASTER GDEM is an elevation model assembled from optical stereo observations rather than a contemporary image of local ground conditions. Version 3 is supplied with approximately one-arc-second grid spacing, often described as about 30 metres near the equator. This grid spacing is not a guarantee of equivalent vertical accuracy or the ability to resolve every feature occupying one cell.
Check vertical reference, horizontal coordinates, no-data values and the accompanying information about contributing observations. Inspect the terrain for spikes, pits, seams and cloud-related artefacts before calculating slope or drainage. Preserve the original raster and document any smoothing or void treatment separately. When comparing it with another elevation model, align horizontal and vertical references before attributing height differences to physical landscape change.
The model can include surface features and stereo-matching artefacts, so it should not automatically be treated as a bare-earth survey. Forests, steep slopes, water and low-texture areas deserve additional inspection. Compare important locations with independent elevation evidence and assess errors by terrain type. For flood design or detailed engineering, establish whether the model's uncertainty is acceptable instead of assuming a global elevation layer is sufficient.
Prepare and test the analysis
Check whether the management polygon represents the intended reporting unit at the image date. An authoritative-looking boundary can still be outdated, overlapping or incompatible with the analytical grid. Define the decision unit, observation period and consequence of an incorrect result before choosing processing settings. Separate the physical measurement from the management interpretation. The workflow should explain when available imagery is adequate, when more observations are needed, and who is responsible for reviewing uncertain cases.
Validate polygon topology, unique identifiers, coordinate system and overlaps. Compare representative boundaries with suitable reference imagery, then define how slivers, holes and shared edges enter the statistics. Keep a small representative test area and retain the original inputs. Record the product identifier, processing level, coordinate reference system and every setting that changes the numbers. Change one assumption at a time so that a reviewer can distinguish a processing effect from a real difference on the ground.
If two hypothetical units overlap by 2 hectares and each includes the overlap, their summed area counts those hectares twice. Geometry validity alone does not prevent this reporting error. This is an illustrative calculation for checking the logic, not a measured outcome or a universal threshold. Repeat it on known inputs before processing the full region. Then vary the relevant assumption and document whether the decision changes, including cases where the available evidence cannot support a confident answer.
Automatically repairing geometry can alter area or split units unexpectedly. An old boundary may also assign recent development to the wrong manager even when all coordinates are technically valid. A plausible color pattern alone cannot resolve these competing explanations. Review representative failures alongside apparently successful locations, and compare observations made under similar conditions. Preserve a separate uncertainty or exclusion layer so that unsupported areas cannot quietly enter summaries as if they had the same evidential strength as reliable observations.
Compare repaired and original areas, inspect large differences and obtain review of ambiguous ownership or management limits. Use stable unit identifiers before joining statistics to operational records. Set the acceptance rule before examining the final map. Use independent evidence that represents the difficult conditions as well as the easy ones. Report how many observations passed, which failed and why. A threshold that works in this test area still needs checking before transfer to another landscape or season.
Deliver the boundary version, effective date, repair log and overlap policy with the raster summary. Preserve a crosswalk when identifiers change so historical reports remain traceable and comparable. Package the analytical layer with its quality information and a short reproduction note. Include the acquisition dates, processing assumptions, limitations and responsible reviewer. Preserve stable identifiers across maps and tables so another analyst can trace a reported number back to its inputs and repeat the comparison without guessing the settings.
Interpret the combined evidence
Read the landscape and product sections together before applying the analysis procedure. In this guide, Peri-urban settlements defines the reporting context, while ASTER Global Digital Elevation Model defines the available measurement; Boundary Quality supplies the processing and review question. These roles are deliberately separate. A working data connection does not establish that the measurement answers the management question. Reject a combination when the target is smaller than the effective observation scale, when the required season has no usable observations, or when the relevant property is not measured by the sensor. Retain that rejection in the project record so that an attractive demonstration does not become an unsupported operational promise.
Acceptance checks before delivery
Write acceptance conditions before inspecting the final map. Specify the reporting boundary, observation period, minimum valid coverage, reference sampling design and the consequence of an incorrect alert. Use project-specific values agreed with the recipient rather than copying a threshold from an unrelated landscape. Keep a small set of independent observations outside all parameter selection. Review omission and commission errors separately and examine boundary areas, rare conditions and missing dates. If the available reference observations do not cover the intended operating conditions, narrow the stated scope of the result instead of claiming that an apparently successful demonstration proves general reliability.
A useful GIS delivery contains more than a colored image. Export the analytical values where licensing permits, the validity mask, reporting geometries with stable identifiers, and a concise record of product names, acquisition dates, processing versions, coordinate reference system and resampling choices. Distinguish valid zero values from missing observations. Provide the area or count of usable measurements for every reporting unit and explain which units were excluded. A colleague should be able to trace a suspicious statistic back to the underlying observation without reconstructing the entire project from screenshots. Store the interpretation and its limits beside the data, not only in a presentation.
Connect the result with an ITSensing workflow
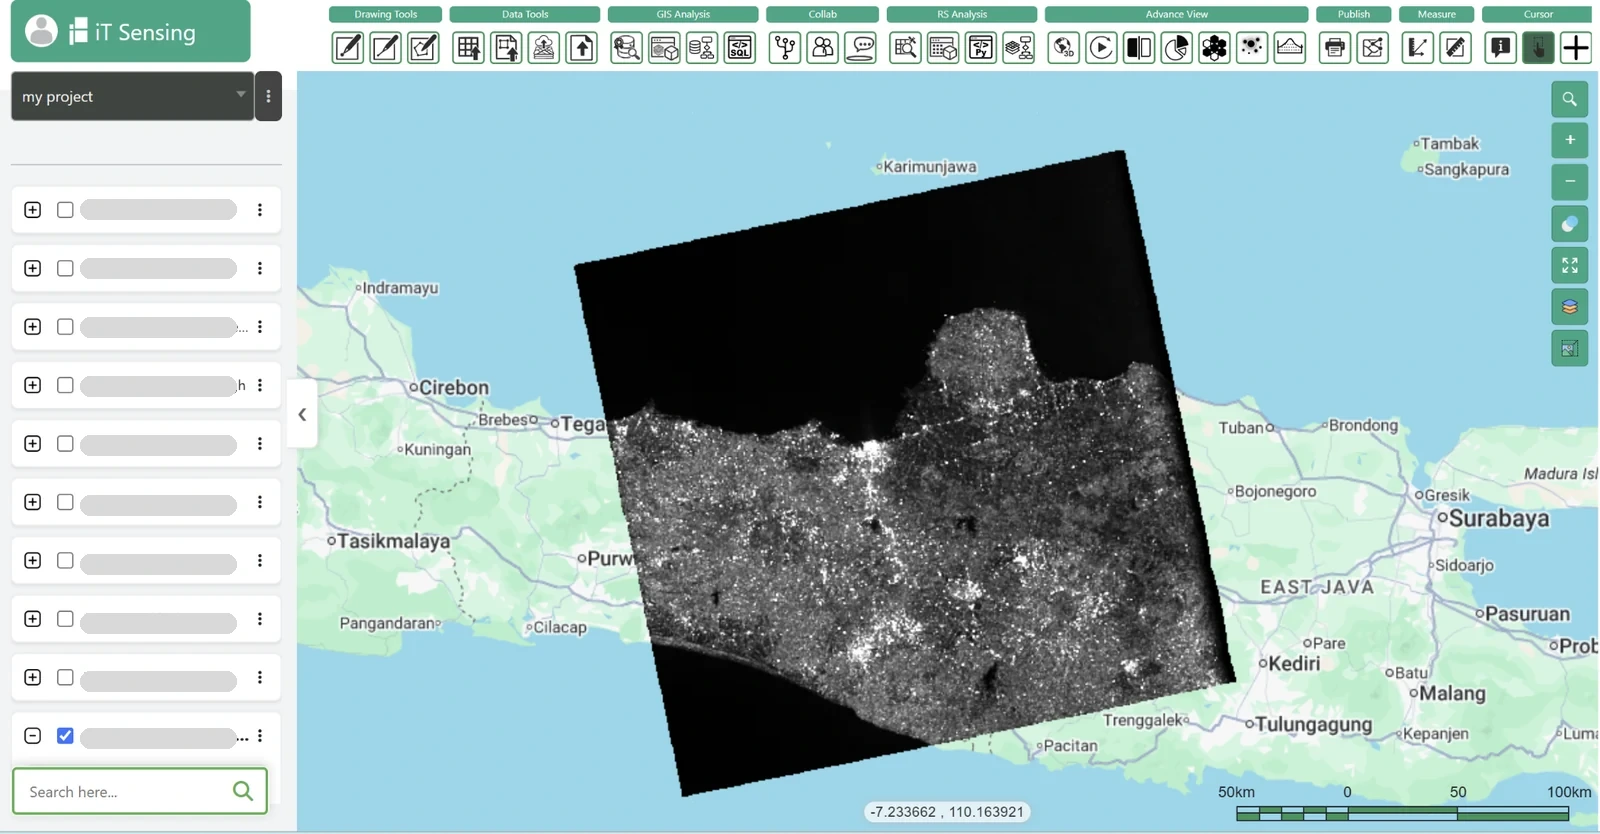
Use the ITSensing satellite catalog and remote sensing tools to evaluate the parts of this workflow that are available for the selected account and data source. Begin with a small representative area and compare the output with a trusted reference before scaling up. The product links below lead to the catalog, tools, documentation and plans so the team can check data access and processing requirements directly. This guide describes an analytical procedure; it does not assert that every named product, algorithm or export format is supplied natively by ITSensing. Where a step uses an external GIS or specialist tool, keep its inputs and outputs in the same reproducibility record.